Do you simply adore candle holders but are unable to find the ones that perfectly suit your space? While there’s a vast variety of candle holders available at the stores, many of us struggle to find the best suitable ones for our home, and those of you who agree with us, we’ve got an incredibly fun and easy idea to help you out.
Not only this, but fall is also on its way and before you even know it, you’ll be feeling the need to turn on the heat and stay indoors and for those who miss the nature outdoors, an easy yet fun DIY project can surely fill your interiors with rustic outdoor warmth and will simultaneously get you the perfect candle holder for your space.
Table of Contents
How to Make a Wooden Candle Holder
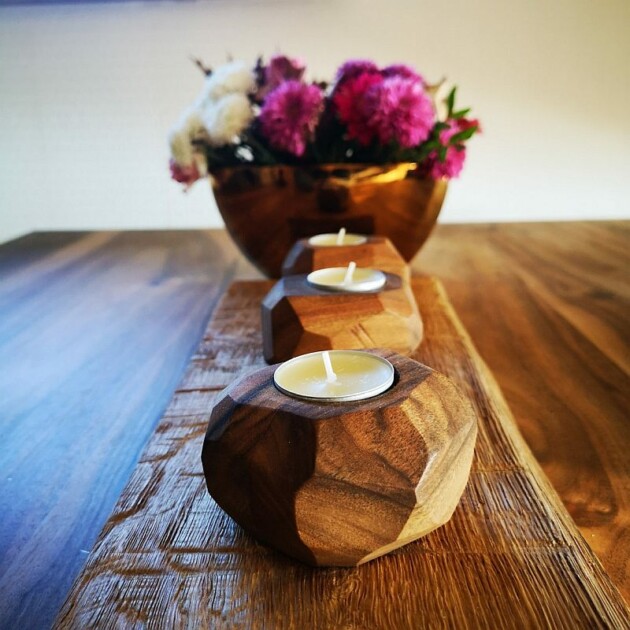
As wooden candle holders never go out of style, we’ll be teaching you how to create your own wooden candle holder that will not only work best as a centerpiece but can also be presented to your loved ones as thoughtful gifts.
Keep scrolling to start making your own DIY wooden candle holder but before embarking on this fun-filled journey, make sure you gather all your supplies in one place and figure out what size candles you need to display so that this project becomes easy and hassle-free. The best part about this project is that it is perfect for beginners and it can be completed in just a few hours. So without wasting any further time, let’s get started!
Gather materials – wood, drill, saw, sandpaper, and candles
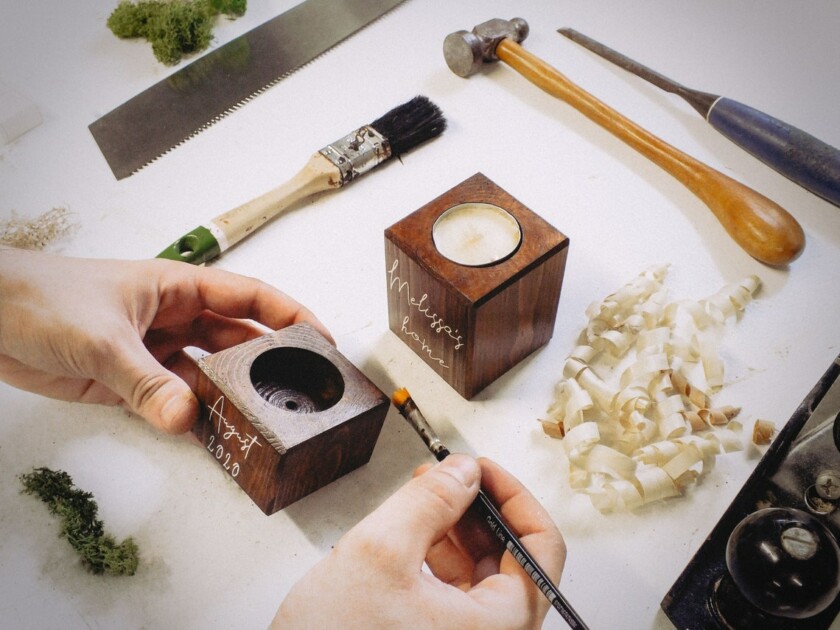
 The first step is to gather all the materials that you will need for this project in one place. For this DIY project, you will need wood, a drill, a saw, sandpaper, and candles. make sure to arrange them over a piece of cloth or already used newspaper so that it’s easier to clean the mess after you’re done working.
Also, you can either use new wood or recycled wood. If you are using recycled wood, make sure it is clean and free of nails or other sharp objects for a seamless finish. Now that you have all your materials, it’s time to start making your candle holder.
Cut the wood to size
The next step is to cut the wood to size. If you are using a recycled piece of wood, make sure it is the right size for your candleholder. If you are using new wood, you can either buy pre-cut pieces or cut them yourself. To do this, measure the length and width of your candle holder and mark the measurements on the wood. Then, use a saw to cut along the lines. while cutting the wood, be extremely careful to as this can be a bit dangerous.
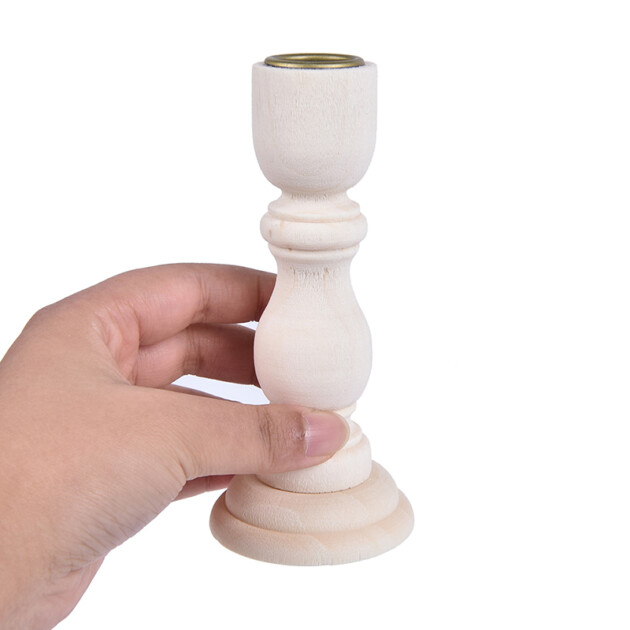
Also, if you are not comfortable using a saw, you can always ask an expert to do it for you. Once the pieces are cut, sand down any rough edges with sandpaper so that your candle holders get a perfect finishing touch and look exactly similar to the store-bought ones. Now that the measurements and cutting of your candleholder are all done, it’s time to move to the next step.
Drill a hole in the center of each piece of wood
The next step is to drill a hole in the center of each piece of wood. This hole will be used to insert your chosen candles. To do this, simply take your drill and make a hole in the center of each piece of wood. Make sure that the holes are big enough for your candles but not too big as that would defeat the purpose of making candle holders.
Also, while drilling, be extra careful so that you don’t damage the wood or hurt yourself in any way and if at any point you feel that you are unable to perfectly do it, you can take professional help. Once you have drilled holes in all your pieces of wood, it’s time to put everything together and add some final finishing touches to your candle holders.
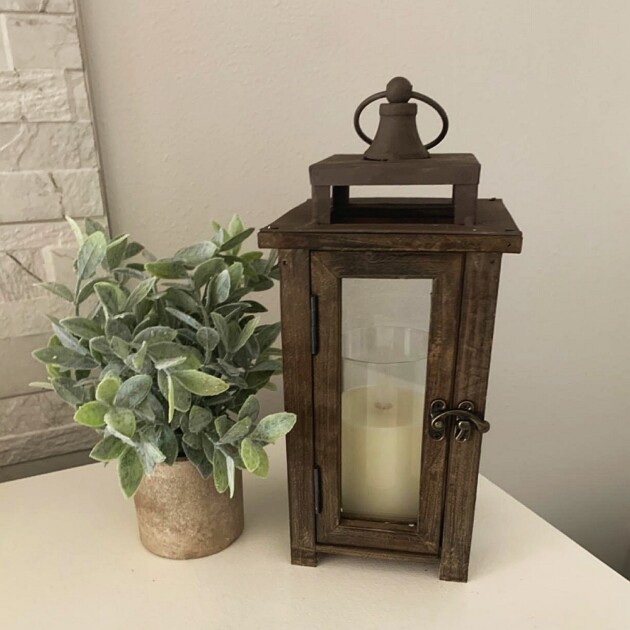
Sand down the edges and round off the corners
The next step is to sand down the edges and rounds off the corners. This will help give your candleholders a more polished and professional look. To do this, simply take your sandpaper and start sanding down the edges of each piece of wood.
Once you’re done with that, use a round file or anything else that you have to round off the corners. And that’s it! Your candle holders are now ready to be used. And there you have it! Your very own DIY wooden candle holder ready in just a few hours which look just as good as any store-bought one but at a fraction of the price.
Paint or stain the wood however you like
The final step is to paint or stain the wood. This will help give your candle holders a more personalized look as you can paint them according to your personal preferences. To do this, simply take your paint or stain of choice and apply it to the wood.
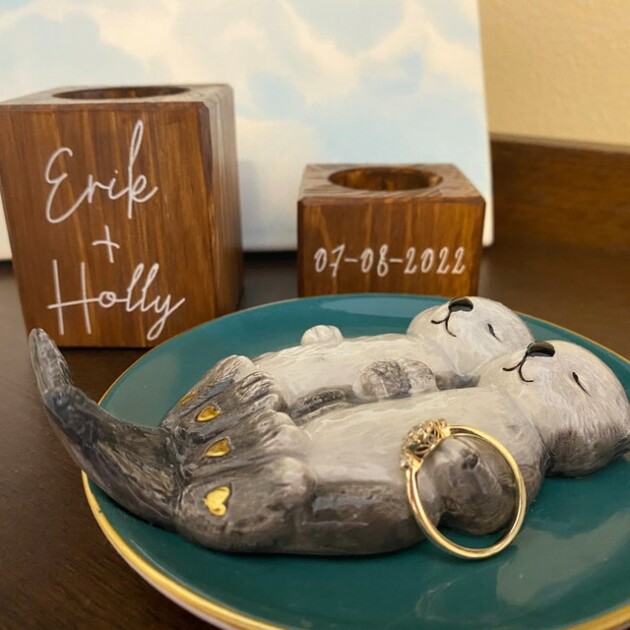
Once you’re done, let it dry and your candleholders are now ready to be used. If they still look a bit simple, you can always make them fancy by decorating them with crafting supplies of your choice.
Add candles to the holder and enjoy!
Add your chosen candle to the holder and enjoy! These candle holders can be used for decoration to add a bit of ambiance to any room. Not only this, but they also make great gifts for friends and family. So, what are you waiting for? Get on the crafting spree today!
DIY Wooden Candle Holder Ideas
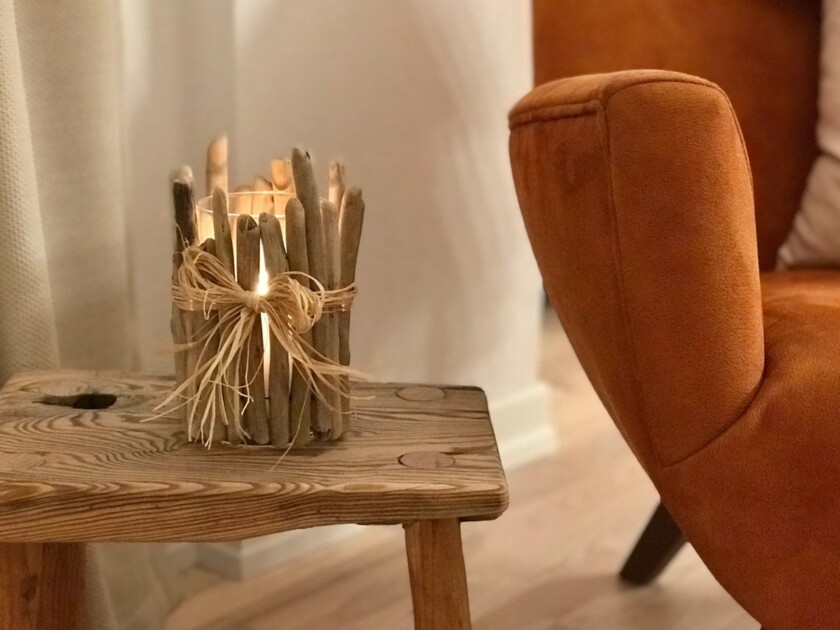
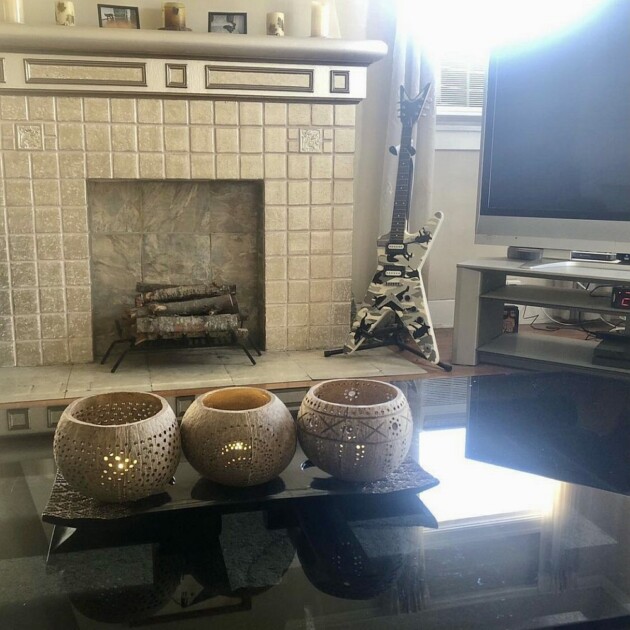
🤩Inspiring Ideas To Craft Modern Wood Candle Holders
https://t.co/Ls0A9pWyIN— EventHomeDecor (@EventHomeDecor) September 30, 2022
Conclusion
We hope you enjoyed making this project as much as we did and if you have any questions or suggestions on creating DIY wooden candle holders, feel free to leave them in the comments section below. Until next time, happy crafting!
